Bumps [nanoid](https://github.com/ai/nanoid) from 3.1.23 to 3.3.4.
- [Release notes](https://github.com/ai/nanoid/releases)
- [Changelog](https://github.com/ai/nanoid/blob/main/CHANGELOG.md)
- [Commits](https://github.com/ai/nanoid/compare/3.1.23...3.3.4)

---
updated-dependencies:
- dependency-name: nanoid
  dependency-type: indirect
...

Signed-off-by: dependabot[bot] <support@github.com>
fb2iCal
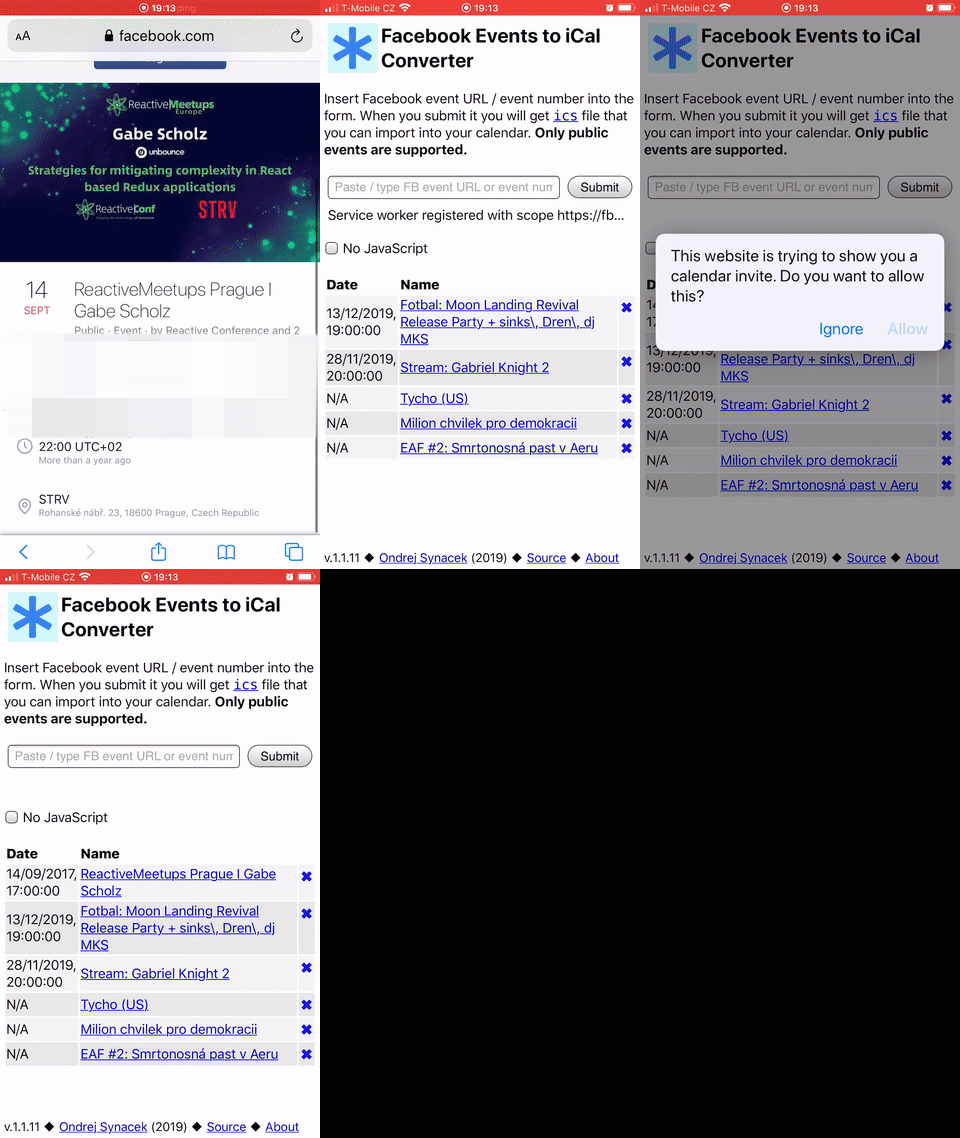
This app allows you to download iCal calendar files from Facebook URL / event number.
You can use it as a service at https://fb2ical-3051b.web.app/ or use this repository to launch your own instance.
The page that is served by the app uses a service worker and can be used offline and installed as PWA (Progressive Web App).
The site can run and download ICS file without JavaScript just fine. When JS is enabled, the server only downloads HTML file, parsing and creation of iCal file is performed inside the browser. The results will be same for both JS-enabed / disabled approach as the parser code is actually shared between browser and server.
Installing
Run npm install. App should be compatible with Node v10.
Installing with Firebase
Additionally to npm install in root directory, make sure you navigate to functions/ directory and run npm install there. You need to set up Firebase service and install Firebase CLI in order to deploy and develop for Firebase service.
Development
It can run in environment with NodeJS 10 installed. It does not use Facebook API for retrieving information, instead it relies on crawling and scraping event URL. This means that it can stop working or the results might not be reliable so use this at your own risk.
Run development server: npm run start:dev.
Run development server with debugger npm run start:dev:inspect.
Development with Firebase
Run npm run start:dev:firebase from project root. This will run webpack development server for frontend and also launch Firebase emulator. Unfortunately you will not get live reload on frontend because it is actually served using Firebase hosting emulator, so you will need to refresh the browser manually.
Static assets
The frontend / assets are built by webpack and put into dist/ folder. These assets are then served statically.
Deployment
The command npm run start will build the assets and start the server in production mode.
The app is stateless and does not need any persistent storage.
The app is automatically set up to create logs in logs/ directory each day but it's up to your environment if the file system is persisted.
Deployement with Firebase
Run npm run deploy:firebase to deploy everything. Notice: the project contains symbolic link between lib/ and functions/ directories so Firebase functions can actually use the application code, otherwise it would not get uploaded. Do not remove this symbolic link.
HTTPS
App contains middleware that will redirect all traffic to HTTPS if the requests contain header X-FORWARDED-PROTO. For this to work, the middleware has to be enabled by setting environment variable ENFORCE_HTTPS to value 1.
There are environment variables for setting pu SSL certificate from Let's Encrypt (acme challenge):
CERT_ENDPOINT: endpoint without leading slash such as.well-known/acme-challengeCERT_SECRET
This way you can set up the endpoint that will reply with secret and this should allow you to generate key pairs.
